HOME GALLERY RC HERITAGE TOCOME LINK
ARC JUPITER
DASH 8
(building blog)
2007.01.05
The kit was received from RTMODELS before Xmas. The package was, however, not opened until now.
Started to put the parts for the fuselage onto the plan and discovered that the slots for the formers did not fit! Alternatively i have to build the plane with a very looong nose! E-mail was immediately sent to Mark Turner that responded quickly.
Mark replied: "Trim the front of the crutch to match the plan view. The notches in the crutch should not be modified at all."
Mark, if you see this, i will not trim it. I plan to cut the nose, shorten it and glue it back in place. Photo to come of how i did it............
Oh, did i mention that this is my first building project ever!
2007.01.05
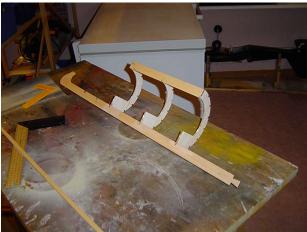
Just a photo of the beginning of the right fuselage half. The rest of it have to wat until i have mirrored the plan with transparent paper.
2007.01.05
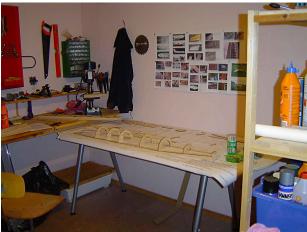
My working place. Plan for the left half fuselage on the table.
2007.01.06
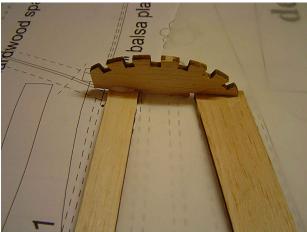
Had lots of trouble with the tail end of the fuselage. Could not get the former to fit! This photo is actually an intermediate fit, allthough glued. I broke it apart later and did a new and hopefully better fit.
2007.01.06
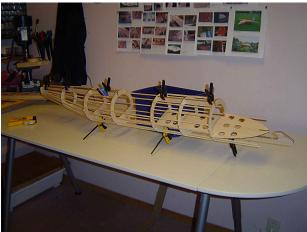
The ribs are being glued in place. First the "barrel" and afterwards the tail end. Note that the tail end formers are now fitted permanently.
2007.01.06
This photo shows the right half of the fuselage fitted on top of a mirrored plan using transparent paper that i have plotted the original plan on and turned the sheet afterwards. In the building instructions it is suggested to use cooking oil to get the plan transparent. That may work very well, but i wanted to keep the original plans as good as possible.
2007.01.06
Both fuselage half are now completed with formers and ribs. The fuselage half are fitted together before gluing, to check for alignment. Perfect fit!
2007.01.06
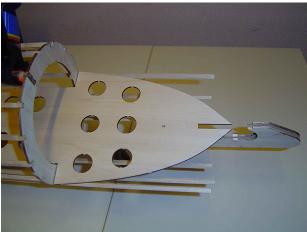
Fitup of the battery plate to get a view of the length of the nose. Next is to shorten the nose before i continue with the rest of the formers and finally starts to glue the two half together.
2007.01.08
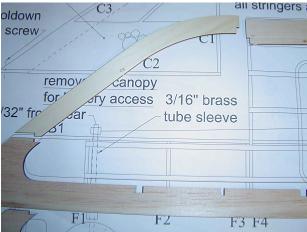
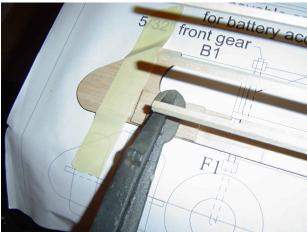
In one of the previous comments i mentioned that i planned to shorten the front. This is how i did it.
2007.01.09
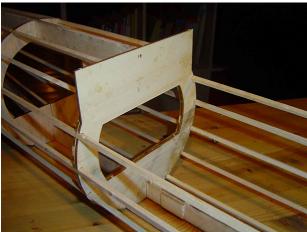
This former was one of the trickiest parts so far. Both formers stabilizing the wing fuselage are glued to one of the half fuselages and than glued together. I had lots of trouble getting them together because the ribs was very tight.
My suggestion is to wait with the two upper ribs on the fuselage half that the formers are glued into firstly. Than joining the two half may become much easier.
2007.01.12
As seen from the photo, a part of the fuselage is now sheeted and the wing supports are mounted. The project is rested for the weekend............
2007.01.21
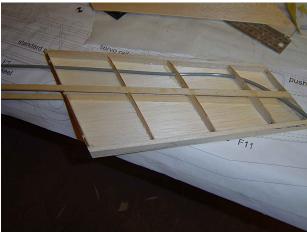
The inside of the vertical stabilizer before it is completely sheeted. As seen the elevator flexible housing have to be installed firstly.
2007.01.27
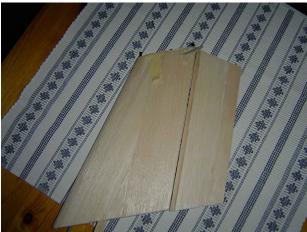
Vertical stabilizer completed although not hinged.
(Comment 2007.02.28: had to rebuild this one later)
2007.01.27
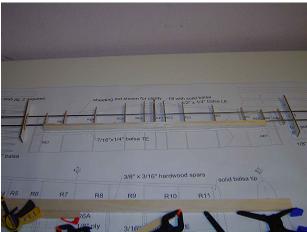
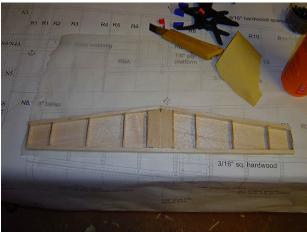
The horizontal stabilizer is under construction. Note that the ribs are all from 1/16" balsa! Also note the jigs that keeps everything aligned.
2007.02.01
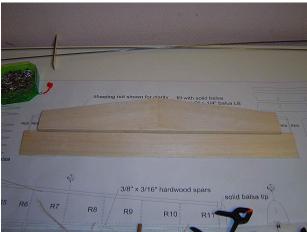
The horizontal stabilizer now completely sheeted on one side. Note that the mid section is completely filled with balsa.
2007.02.05
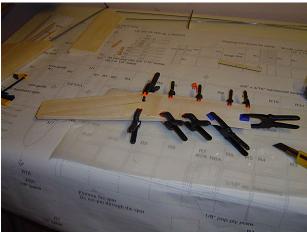
The horizontal stabilizer including the elevator is now almost completed. Everything seem to fit nicely.
2007.02.05
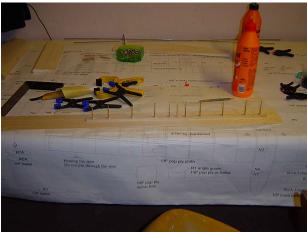
This is how i started up building the elevator. I glued the ribs to the leading edge before i sheeted it.
2007.02.09
The horizontal stabilizer completed -including the elevator!
Now is the the time to re-think the vertical stabilizer..........
TENSOR 4D


